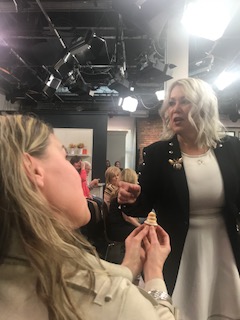
So this was inspired by my visit to the Marilyn Denis show and watching the Chef for Cafe Balou (Chef Balou) do a green cream sauce for spring… In his sauce he didn’t want it to reduce to make a lighter one, I like a good thick cream sauce and I’m eating healthy clean and keto for the time being (summer is acommin’!) so here is an amazing invention of mine – Keto Creamy Pesto and Zoodles (zucchini noodles).
This one satisfies my need for pasta and cream sauce…
Wait, What are Zoodles?
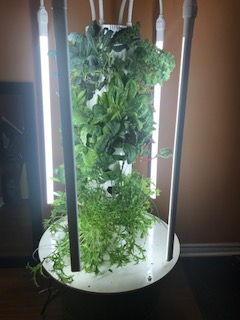
If you have never ever before heard of zoodles you really need to check out spiralizers – I have a great one – it cuts veggies super quickly and easily into noodle like shape (thick or thin) – works great with zucchini which you can eat raw or sauted. I really love them so I haven’t ventured to other veggies too much yet (other than beets – for an beet salad recipe I posted here: https://drkarenhudes.ca/index.php/2018/10/04/rice-and-beet-salad/
I hear that also awesome veggies to use are butternut squash, carrots and turnips… I promise to give these a try soon too. Here is what a spiralizer looks like and what it can do:
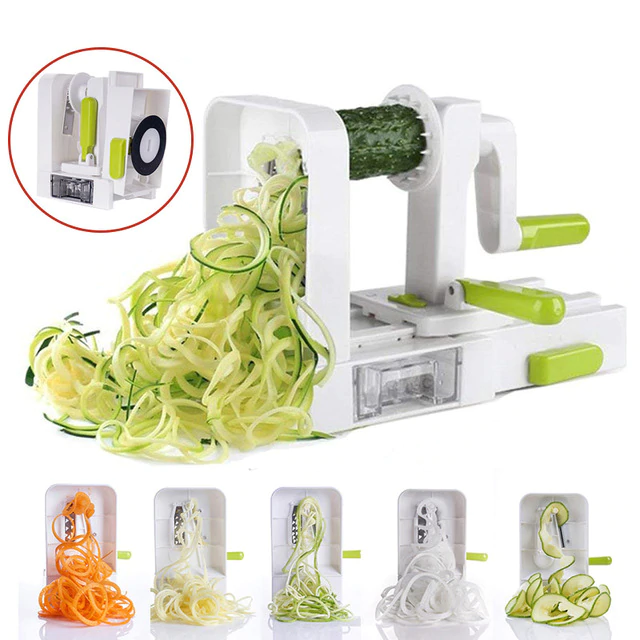
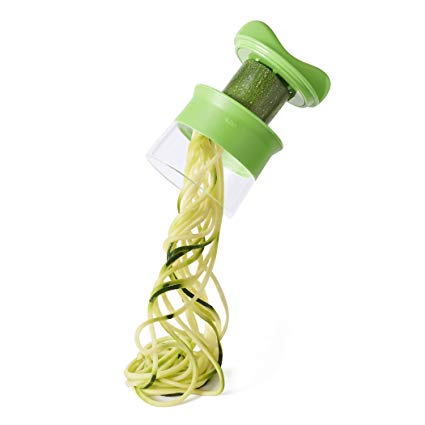
Ok, Enough about spiralizers and on to the recipe!
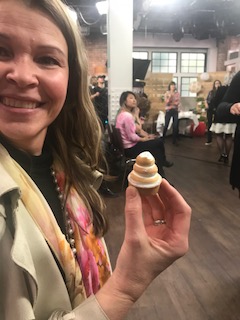
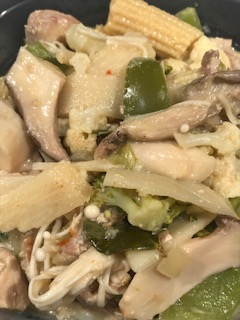
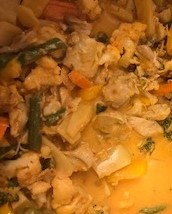
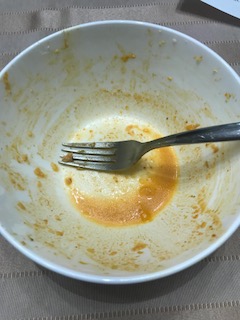
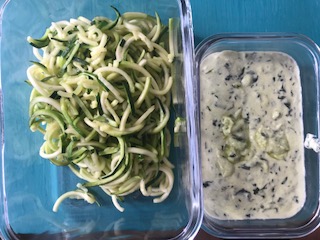
So I invented this one last night… here is a picture of today’s lunch keto creamy pesto and zoodles:
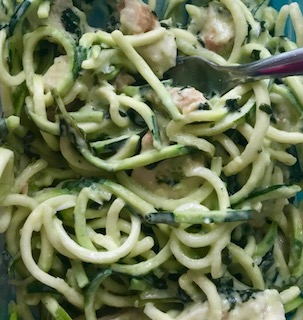
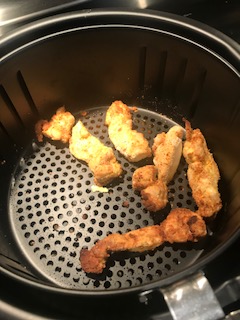
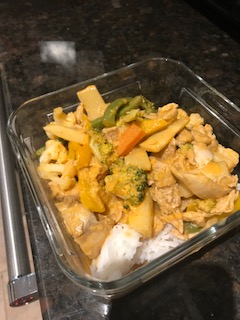
Here is a better pic added after I warmed it up for myself (in separate containers) and added some chicken for protein.
This would likely be so much better if eaten right away but it was so so good today! (really really good – I have to make it again… Nooooo, I didn’t lick the bowl I swear)
I stored the zoodles separately from the sauce because I didn’t want the sauce to take on extra water – and heated them separately too. Here is what you need:
Ingredients
What you need for Keto creamy pesto zoodles:
A large handful of basil
garlic – one or two cloves to taste
1-2 tablespoons of olive oil
a chunk of Parmesan cheese grated (about 1 inch by 1/2 inch – but to taste)
1/2 cup heavy cream
zucchini – 1 per person (the sauce makes about two servings depending on how saucy you like things!)
Best done with mortar and pestle but you can use a food processor too
Directions
Place whole basil leaves and finely chopped garlic into a mortar with some of the oil and use pestle to grind up… add shredded cheese and continue till a fine mash adding oil if it gets too thick. Pour cream into sauce pan and heat to reduce. BE CAREFUL not to burn (mine almost boiled over). Add stuff from mortar to hot cream and let cook a tiny bit until the garlic is fragrant. And Voila! The cream sauce is done! Remove from heat. Now (or before) spiralize the zuchinni and add to a saucepan or pot with a bit of olive oil and saute a minute or too – not too long as these are better a bit crisp. Combine and toss together and enjoy!
Hope you like this one – I loved it!