Um… what now?
You read the title to this recipe and then said to your self… um… what? right? I am betting you did because really who thinks of peach, avocado and tomato salad?
As my friend Taryn, who gave me this recipe said – who thinks of putting those things together? Sounds like it would be gross but trust me…. it so isn’t.
Taryn (aka T, Aunt T, or the fun police – she is a vice principal and I swear I have to get a t-shirt made for her) is a friend of mine from the cottage. She gave me this recipe on the beach on Saturday afternoon of the labour day long weekend and I literally had all of the ingredients and made this for lunch the next day.
It was so good that we were fighting over it. Just got home after the long weekend and went grocery shopping and bought all of the ingredients again so I could make it this week… cant wait. And Sooooo easy!
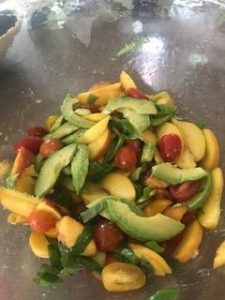
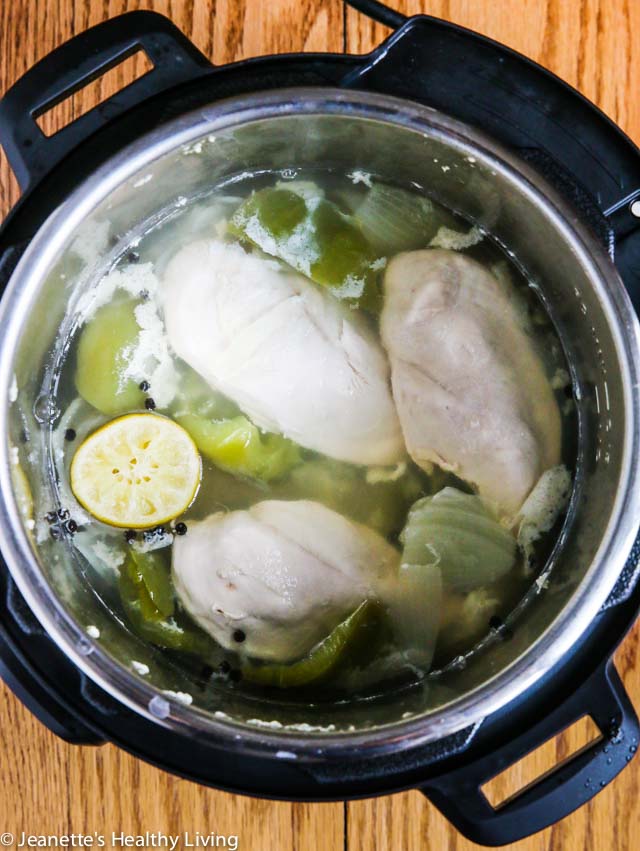
Look how gorgeous that is!
Ingredients
what you will need for the peach, avocado and tomato salad:
-3-5 peaches sliced and pit removed
1-2 avocados peeled and sliced wtih pit removed
a cup or two of cherry tomatoes halved
5-10 fresh basil leaves chopped
balsamic vinegar ( I used white balsamic for appearance)
Instructions
throw all bits together in a big bowl and toss – it is really that easy!
Did I mention so yummy too?
We try not to make things complicated around here…
I do recommend that you eat this the same day as it doesn’t keep too well because of the peaches and avocados – you won’t have trouble finding people to eat it anyways… that is if you decide to share!
If you liked this recipe I have other salad recipes on my blog – check out the blog page here and use the search function to search ‘salad’: https://drkarenhudes.ca/index.php/blog/